

高温慰问送清凉,携手共战“三伏天”
[ 2024-07-19 ]
初心如磐,大爱无疆---走进周至
[ 2024-06-12 ]
智慧赋能,助力安全管理 ----2024年太仓市建筑施工领域安全生产月启动仪式
[ 2024-06-03 ]
奋进五十载,创新迎百年 ——通力建设集团五十周年庆典活动圆满成功
[ 2024-01-22 ]

企业公告
室内设计主流--低碳装修
[ 2020-05-30 ]
国务院关于优化建设工程防雷许可的决定
[ 2020-05-30 ]

ABOUT US
公司简介
COMPANY PROFILE
+
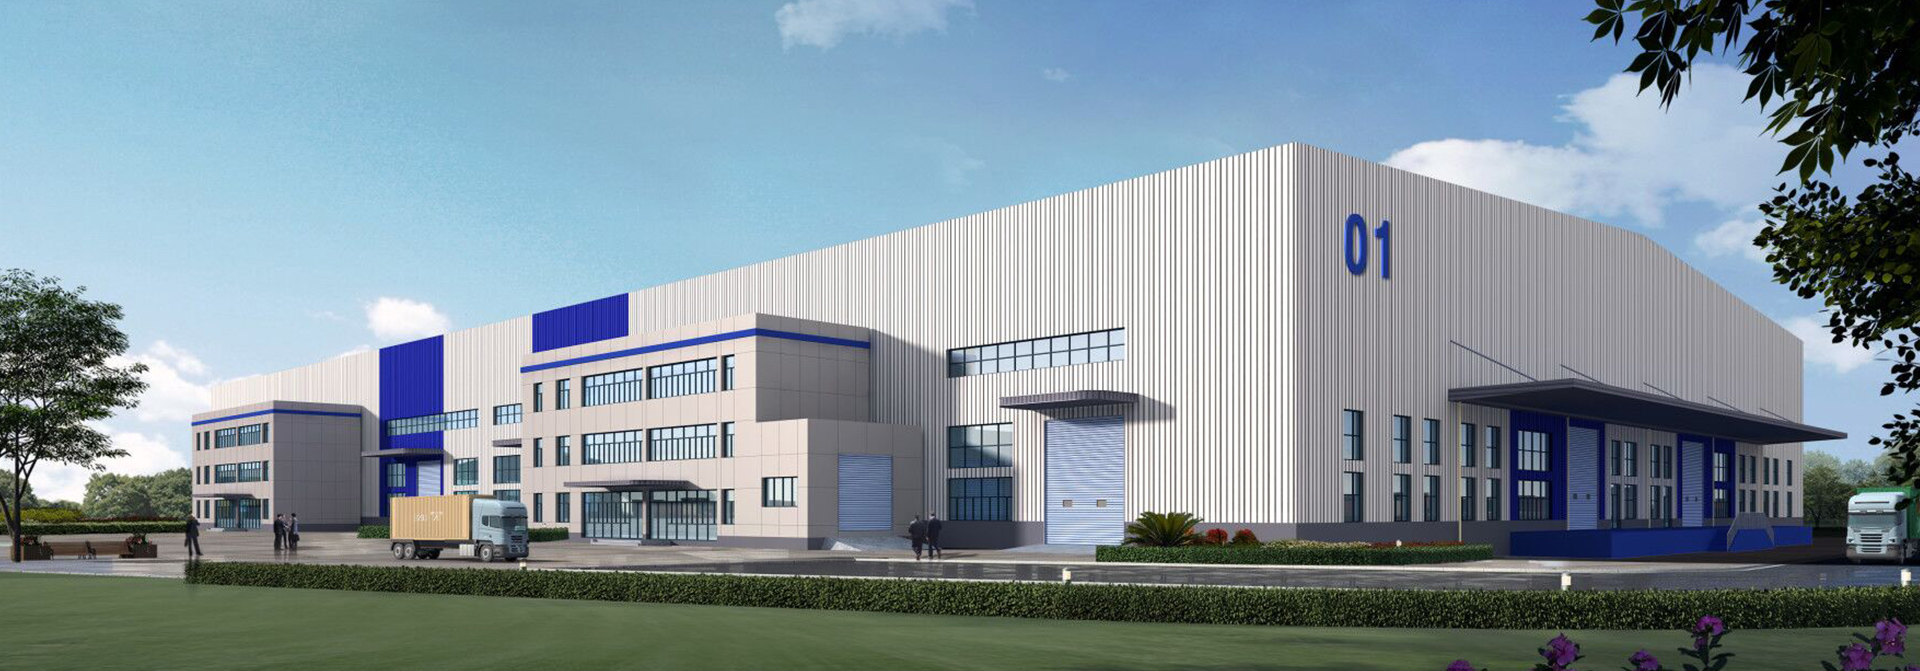
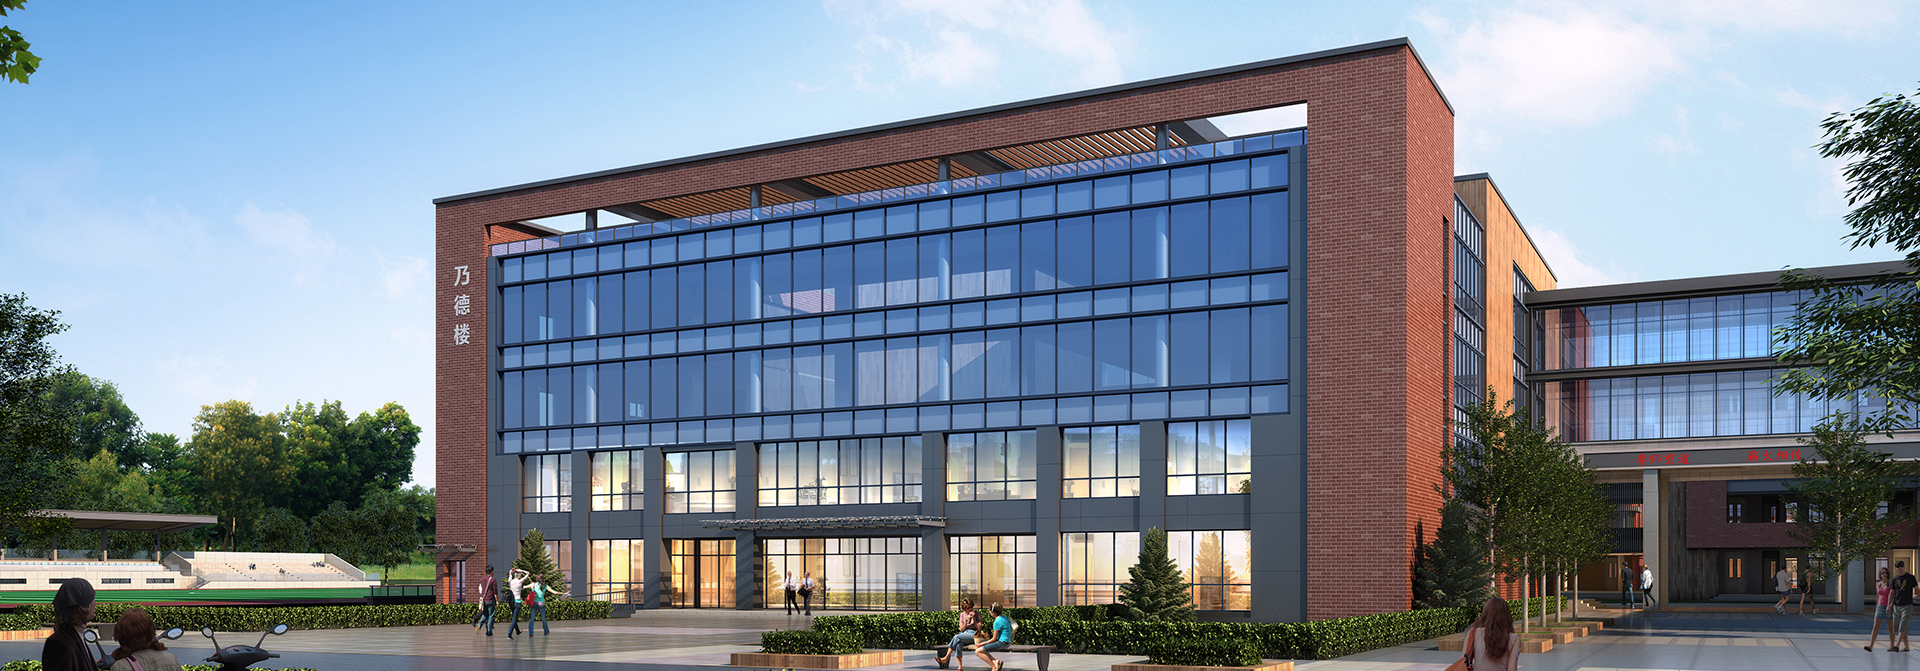
江苏通力建设集团-太阳成tyc7111cc(中国)·No. 1 in the world创立于1973年,2001年改制成民营企业,2021年2月组建成“江苏通力建设集团-太阳成tyc7111cc(中国)·No. 1 in the world”。是经国家住建部批准的房屋建筑施工总承包一级资质企业,企业注册资本金1亿元。公司以房屋建筑总承包为主,下设市政工程、桩基与基础工程、钢结构制作安装、消防设施工程、装饰装潢、起重设备安装、起重设备安装园林绿化、新型材料、建筑劳务等专业公司,建设范围涉及建筑、房产等各个领域。
120
高中级职称120人
30
一级建造师30余人
40
二级建造师40余人
荣誉资质
HONOR
+
-
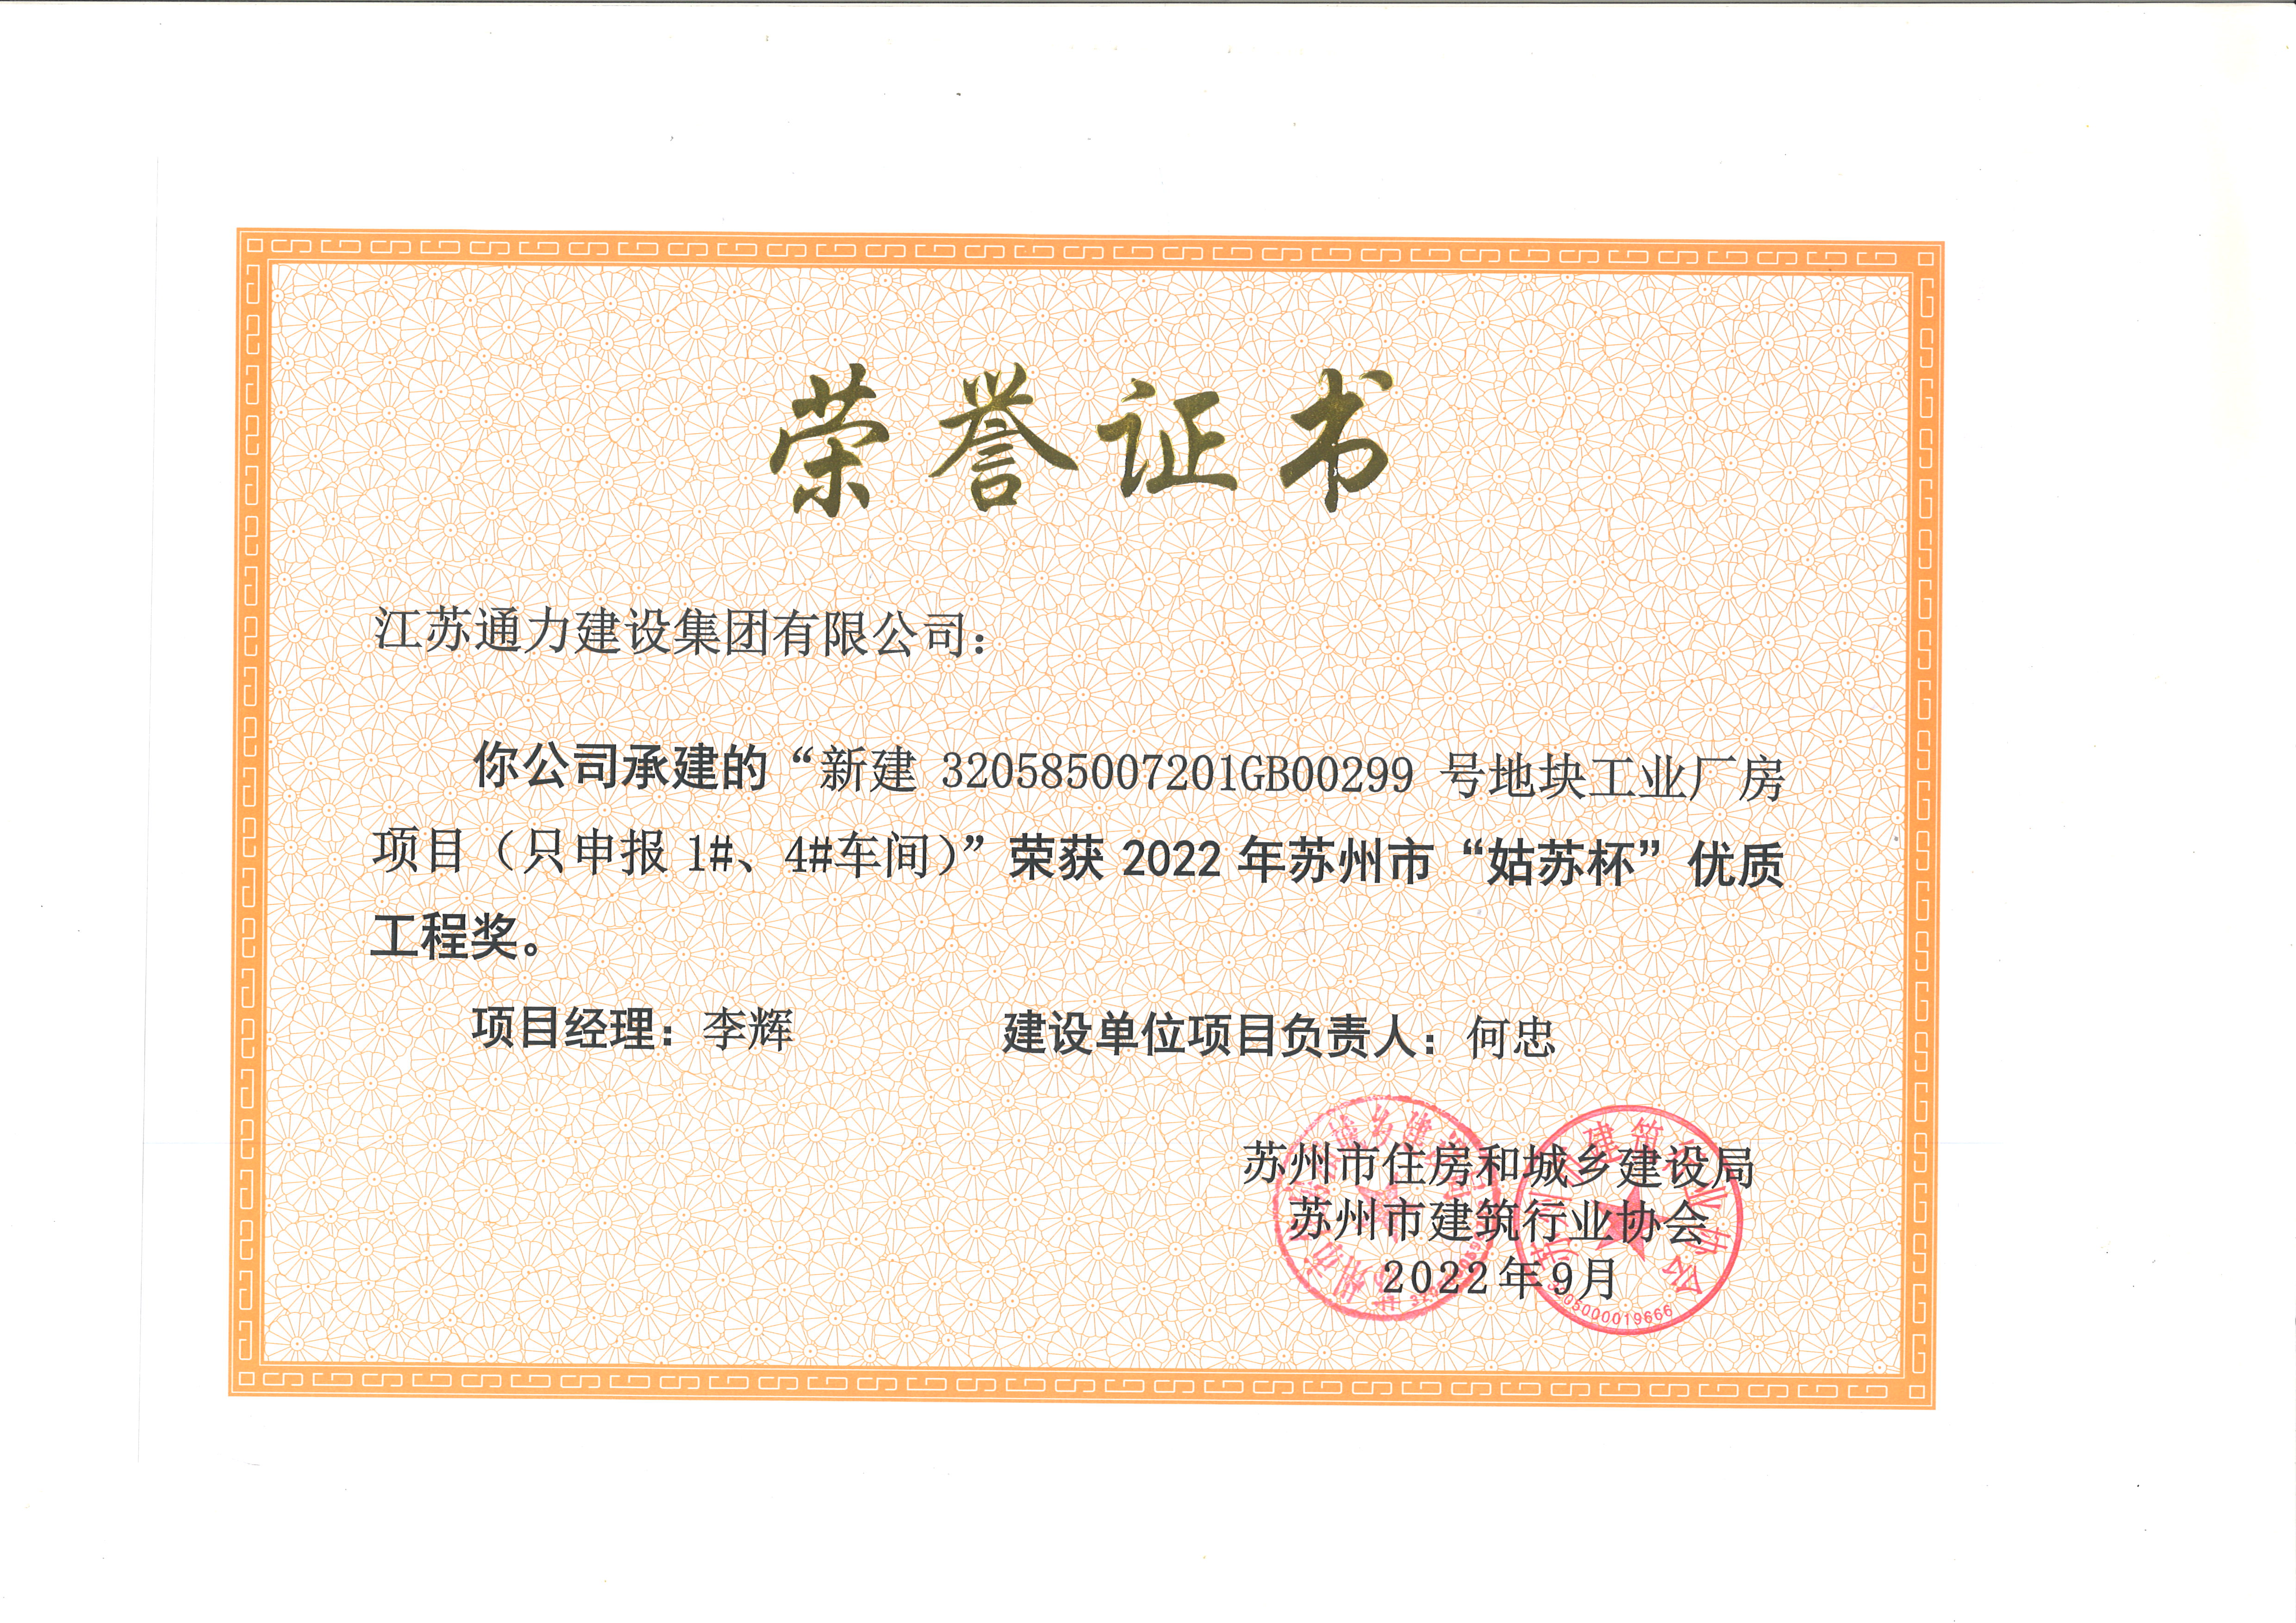
2022年优质工程奖
2022年优质工程奖 -
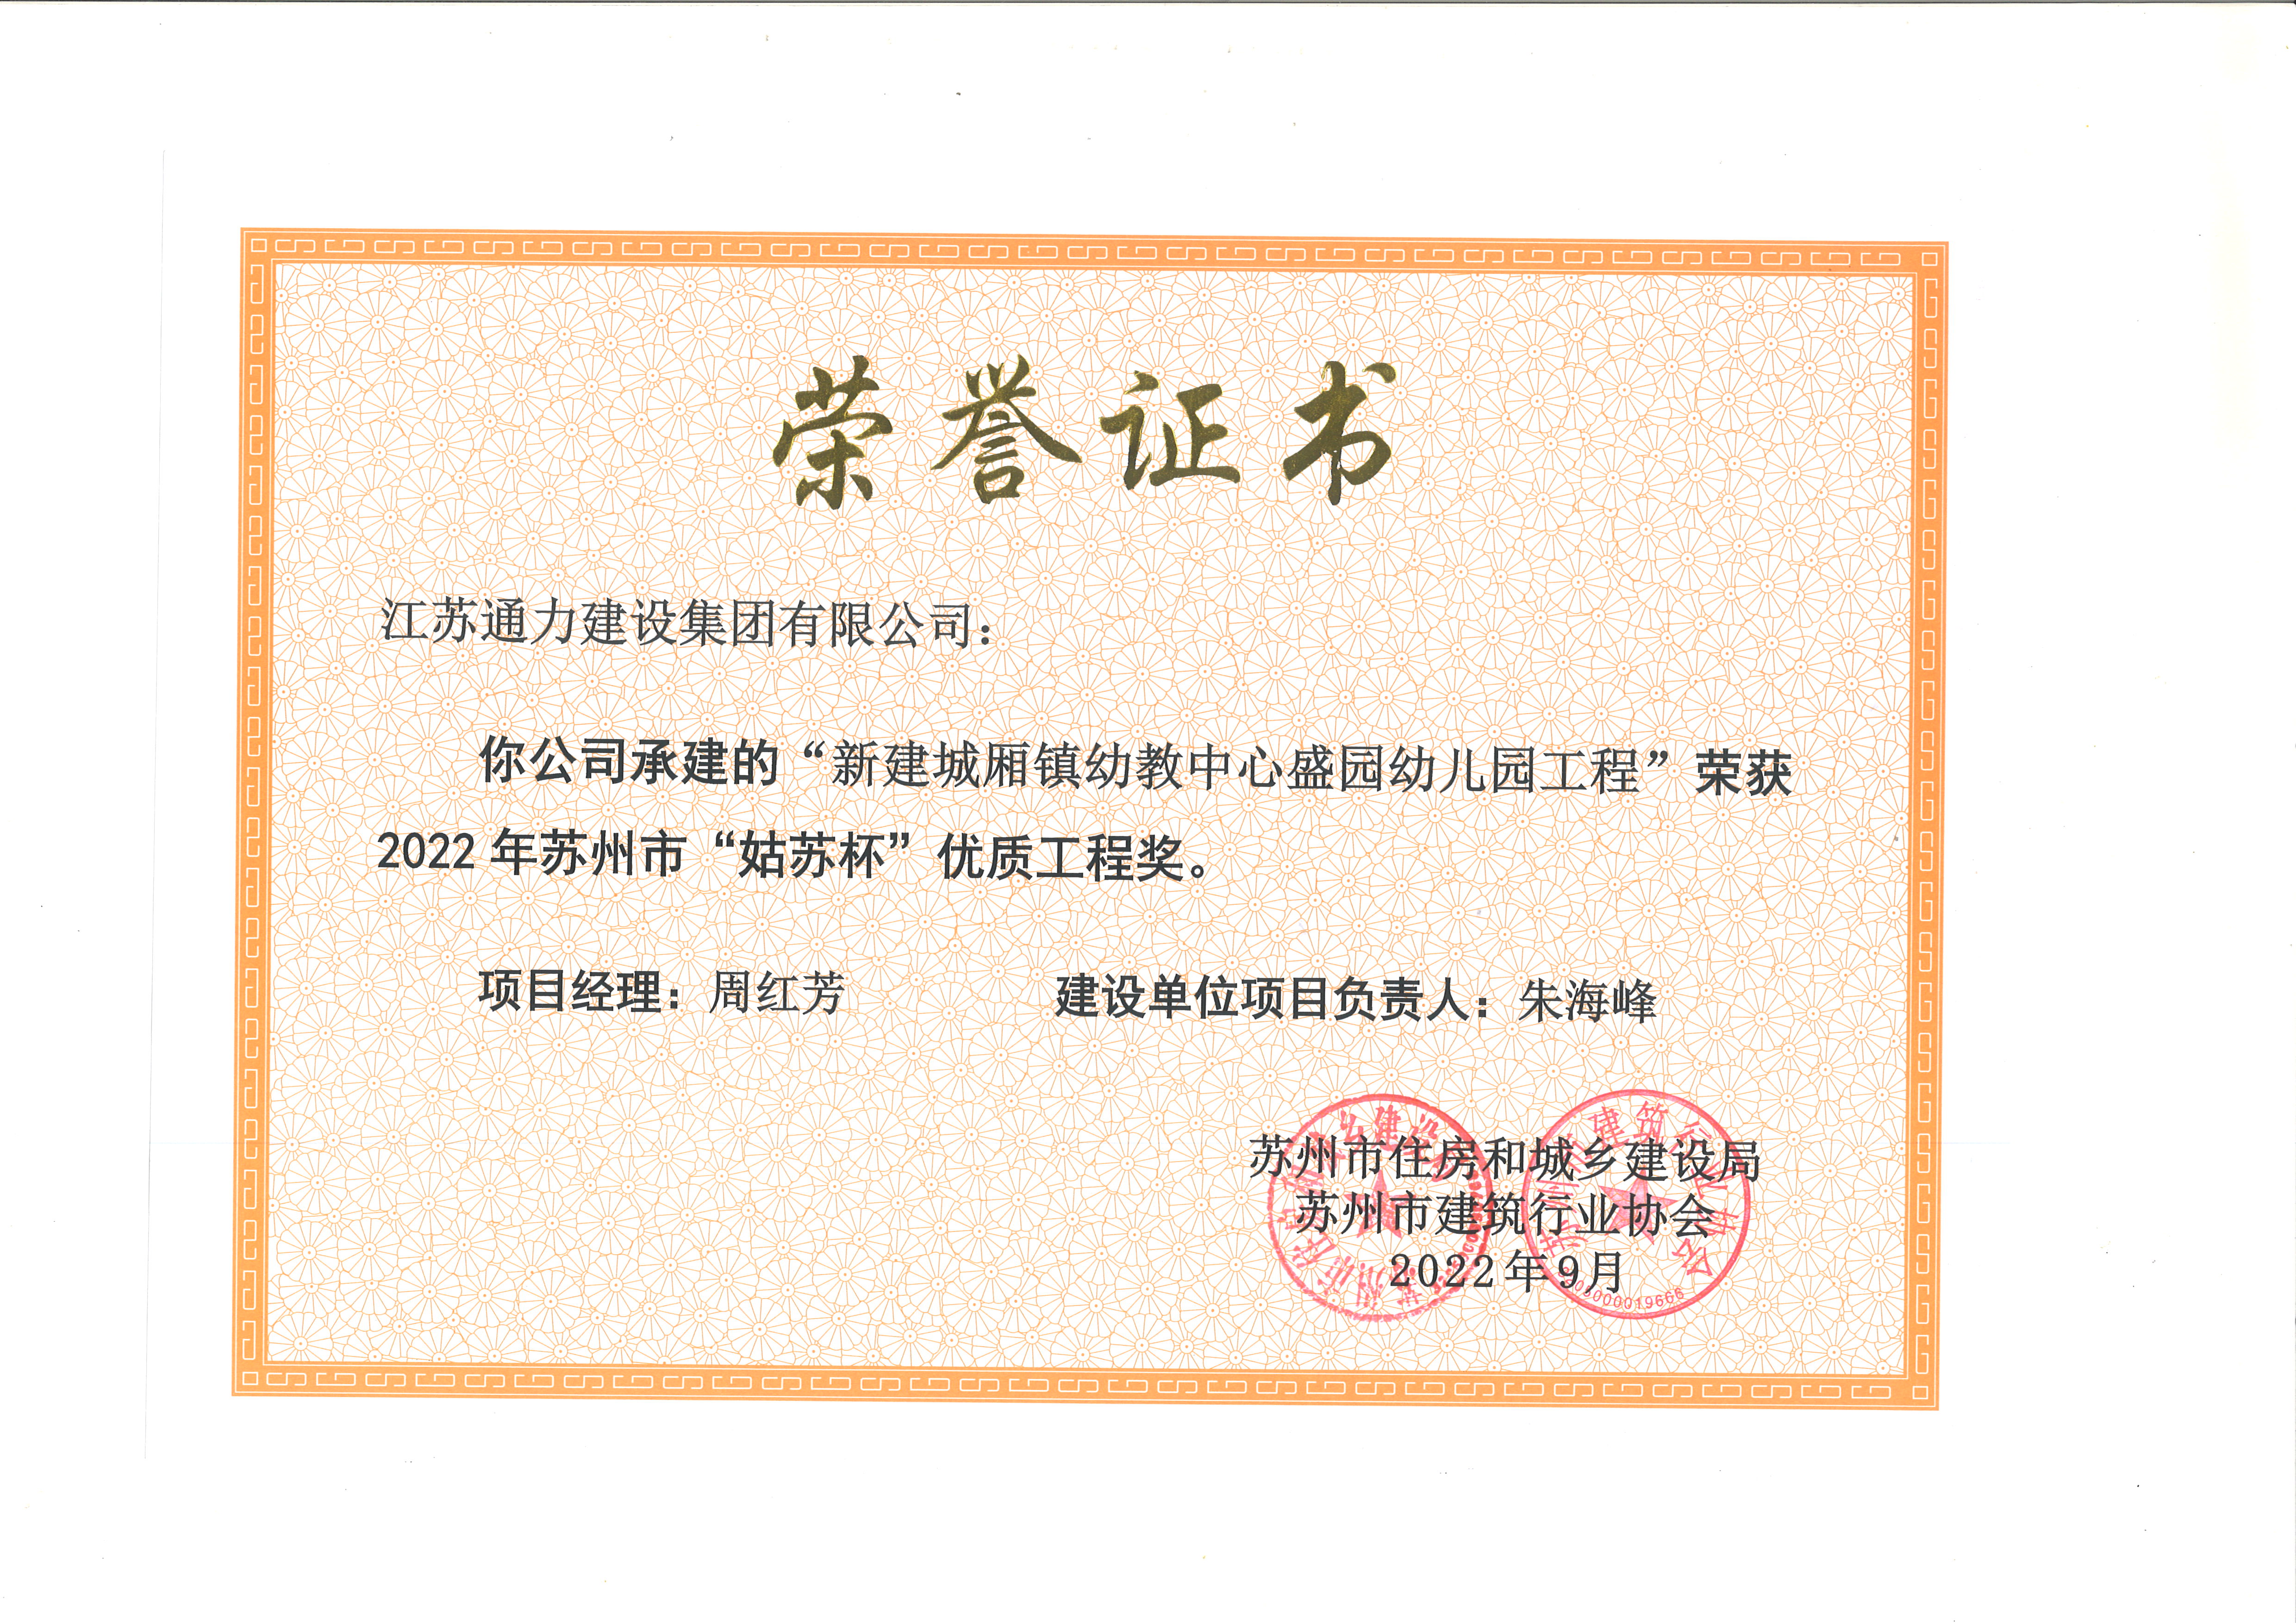
2022年优质工程奖
2022年优质工程奖 -
2022年优质工程奖
2022年优质工程奖 -
2022年优质工程奖
2022年优质工程奖
新闻动态
NEWS INFORMATION

公司地址:太仓市经济开发区半泾北路106号 电话号码:0512-53370312 传真号码:0512-53529234 电子邮件:tctongli@163.com